
📚 How to create your first collection
Prospects need more than one piece of content to make a decision, but sending them five separate emails with five separate attachments is disorganized and overwhelming. Collections let you
Curate related content—case studies, datasheets, videos, presentations—into a single package you can publish and share with one link. Perfect for industry-specific bundles, product launch materials, or stage-specific content sets you'll use again and again.
Simply bundle content together for the internal team -- internal assets, templates, scripts, price lists, and more. Or bundle external assets that function as a "saved quick search" or "folder" to organize content quickly.
Creating a collection
Step 1: Navigate to Collections
From the home dashboard, click on the Collections tab.
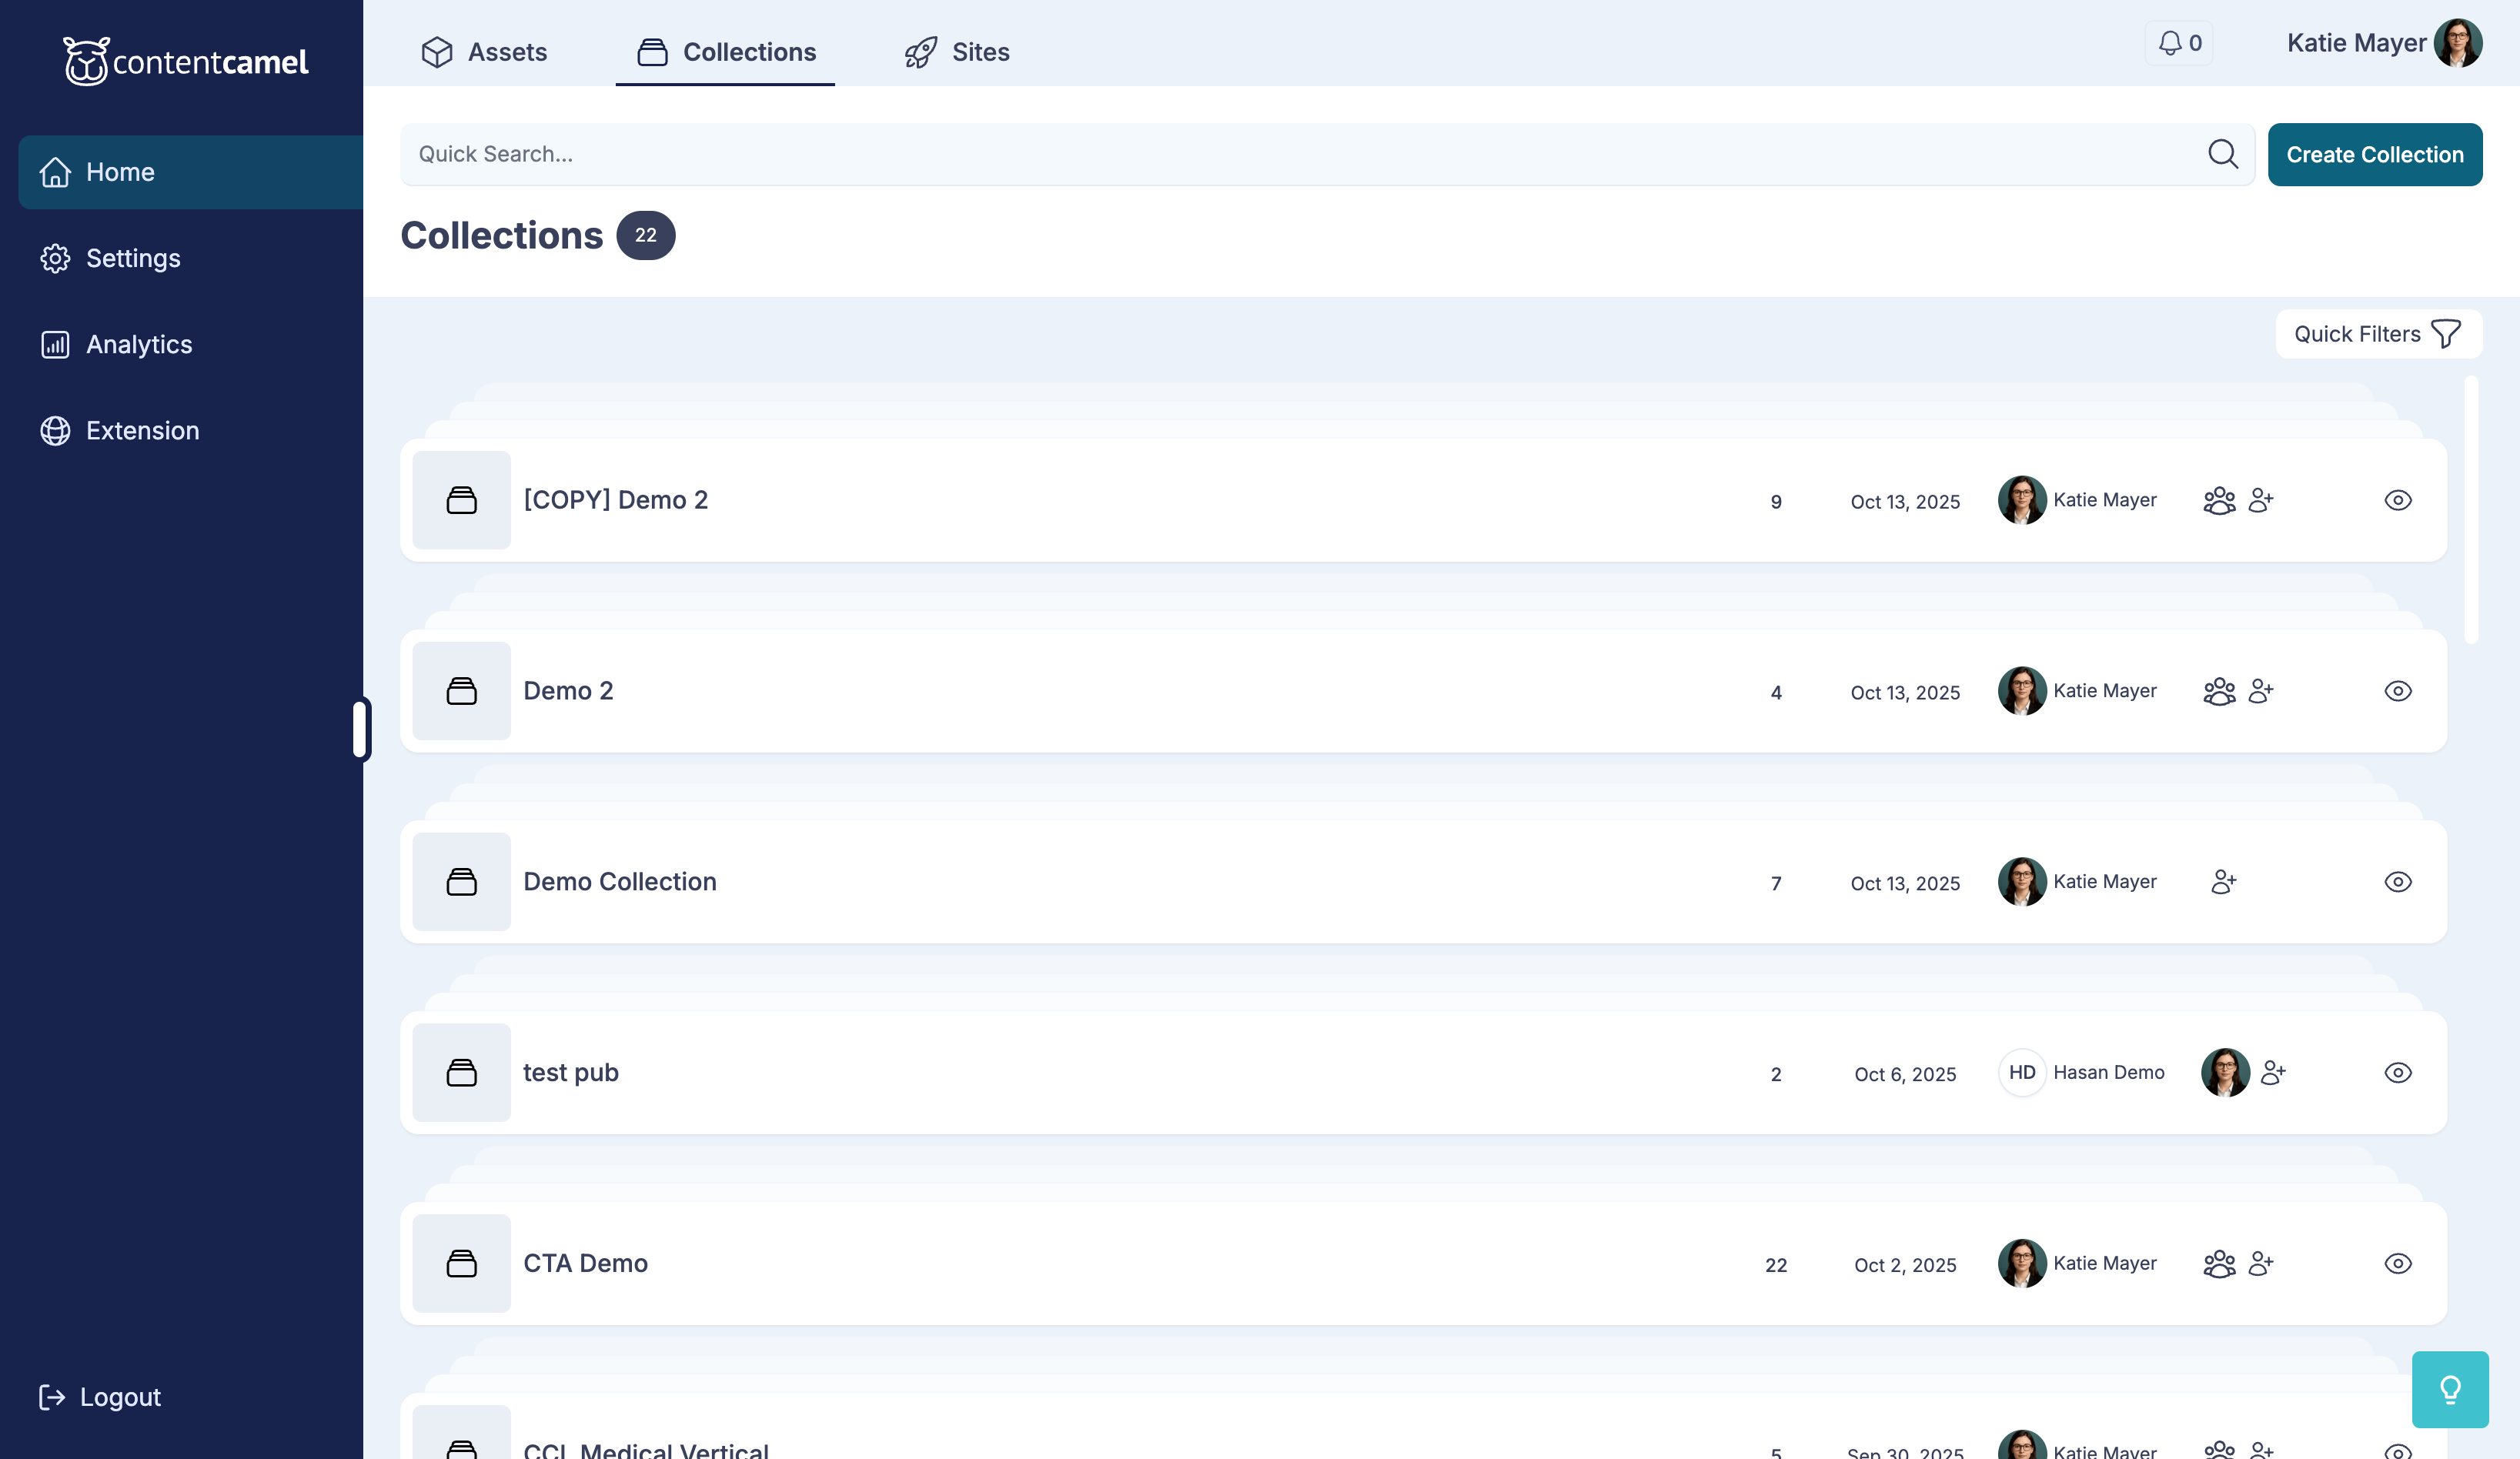
Then click the Create Collection button.
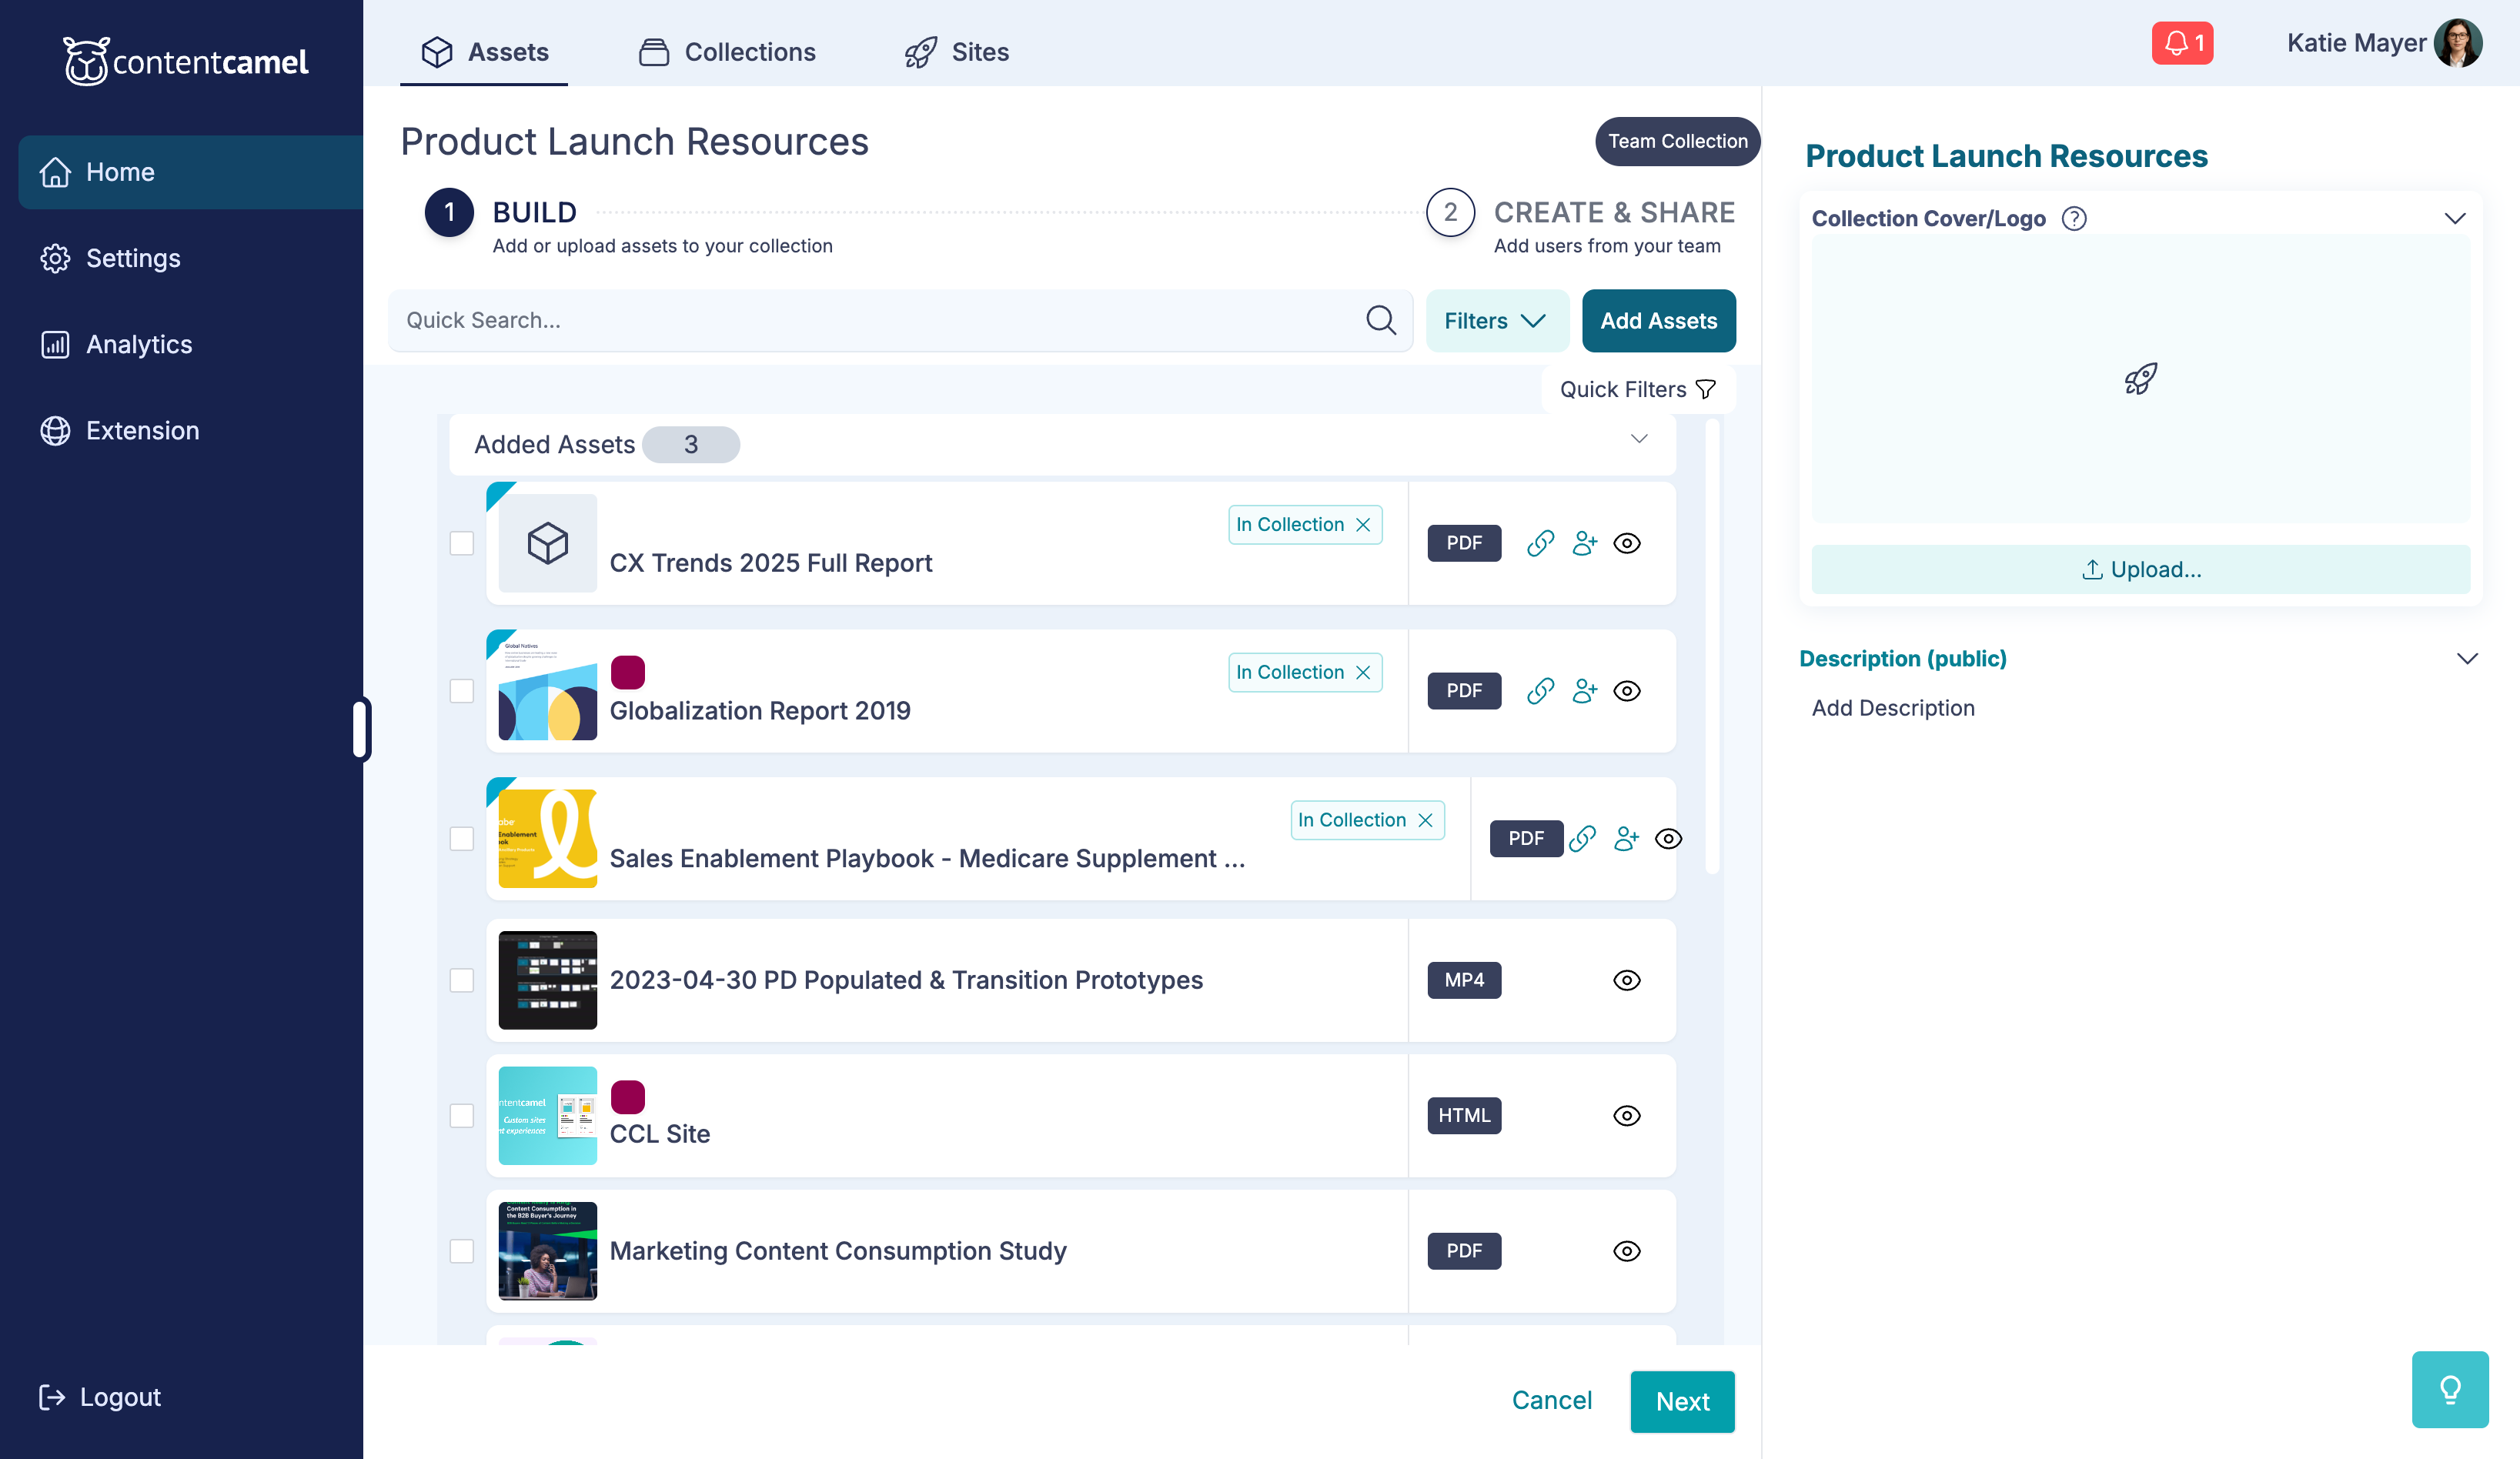
Step 2: Build your collection
You'll enter the collection builder interface where you can search for and add assets.
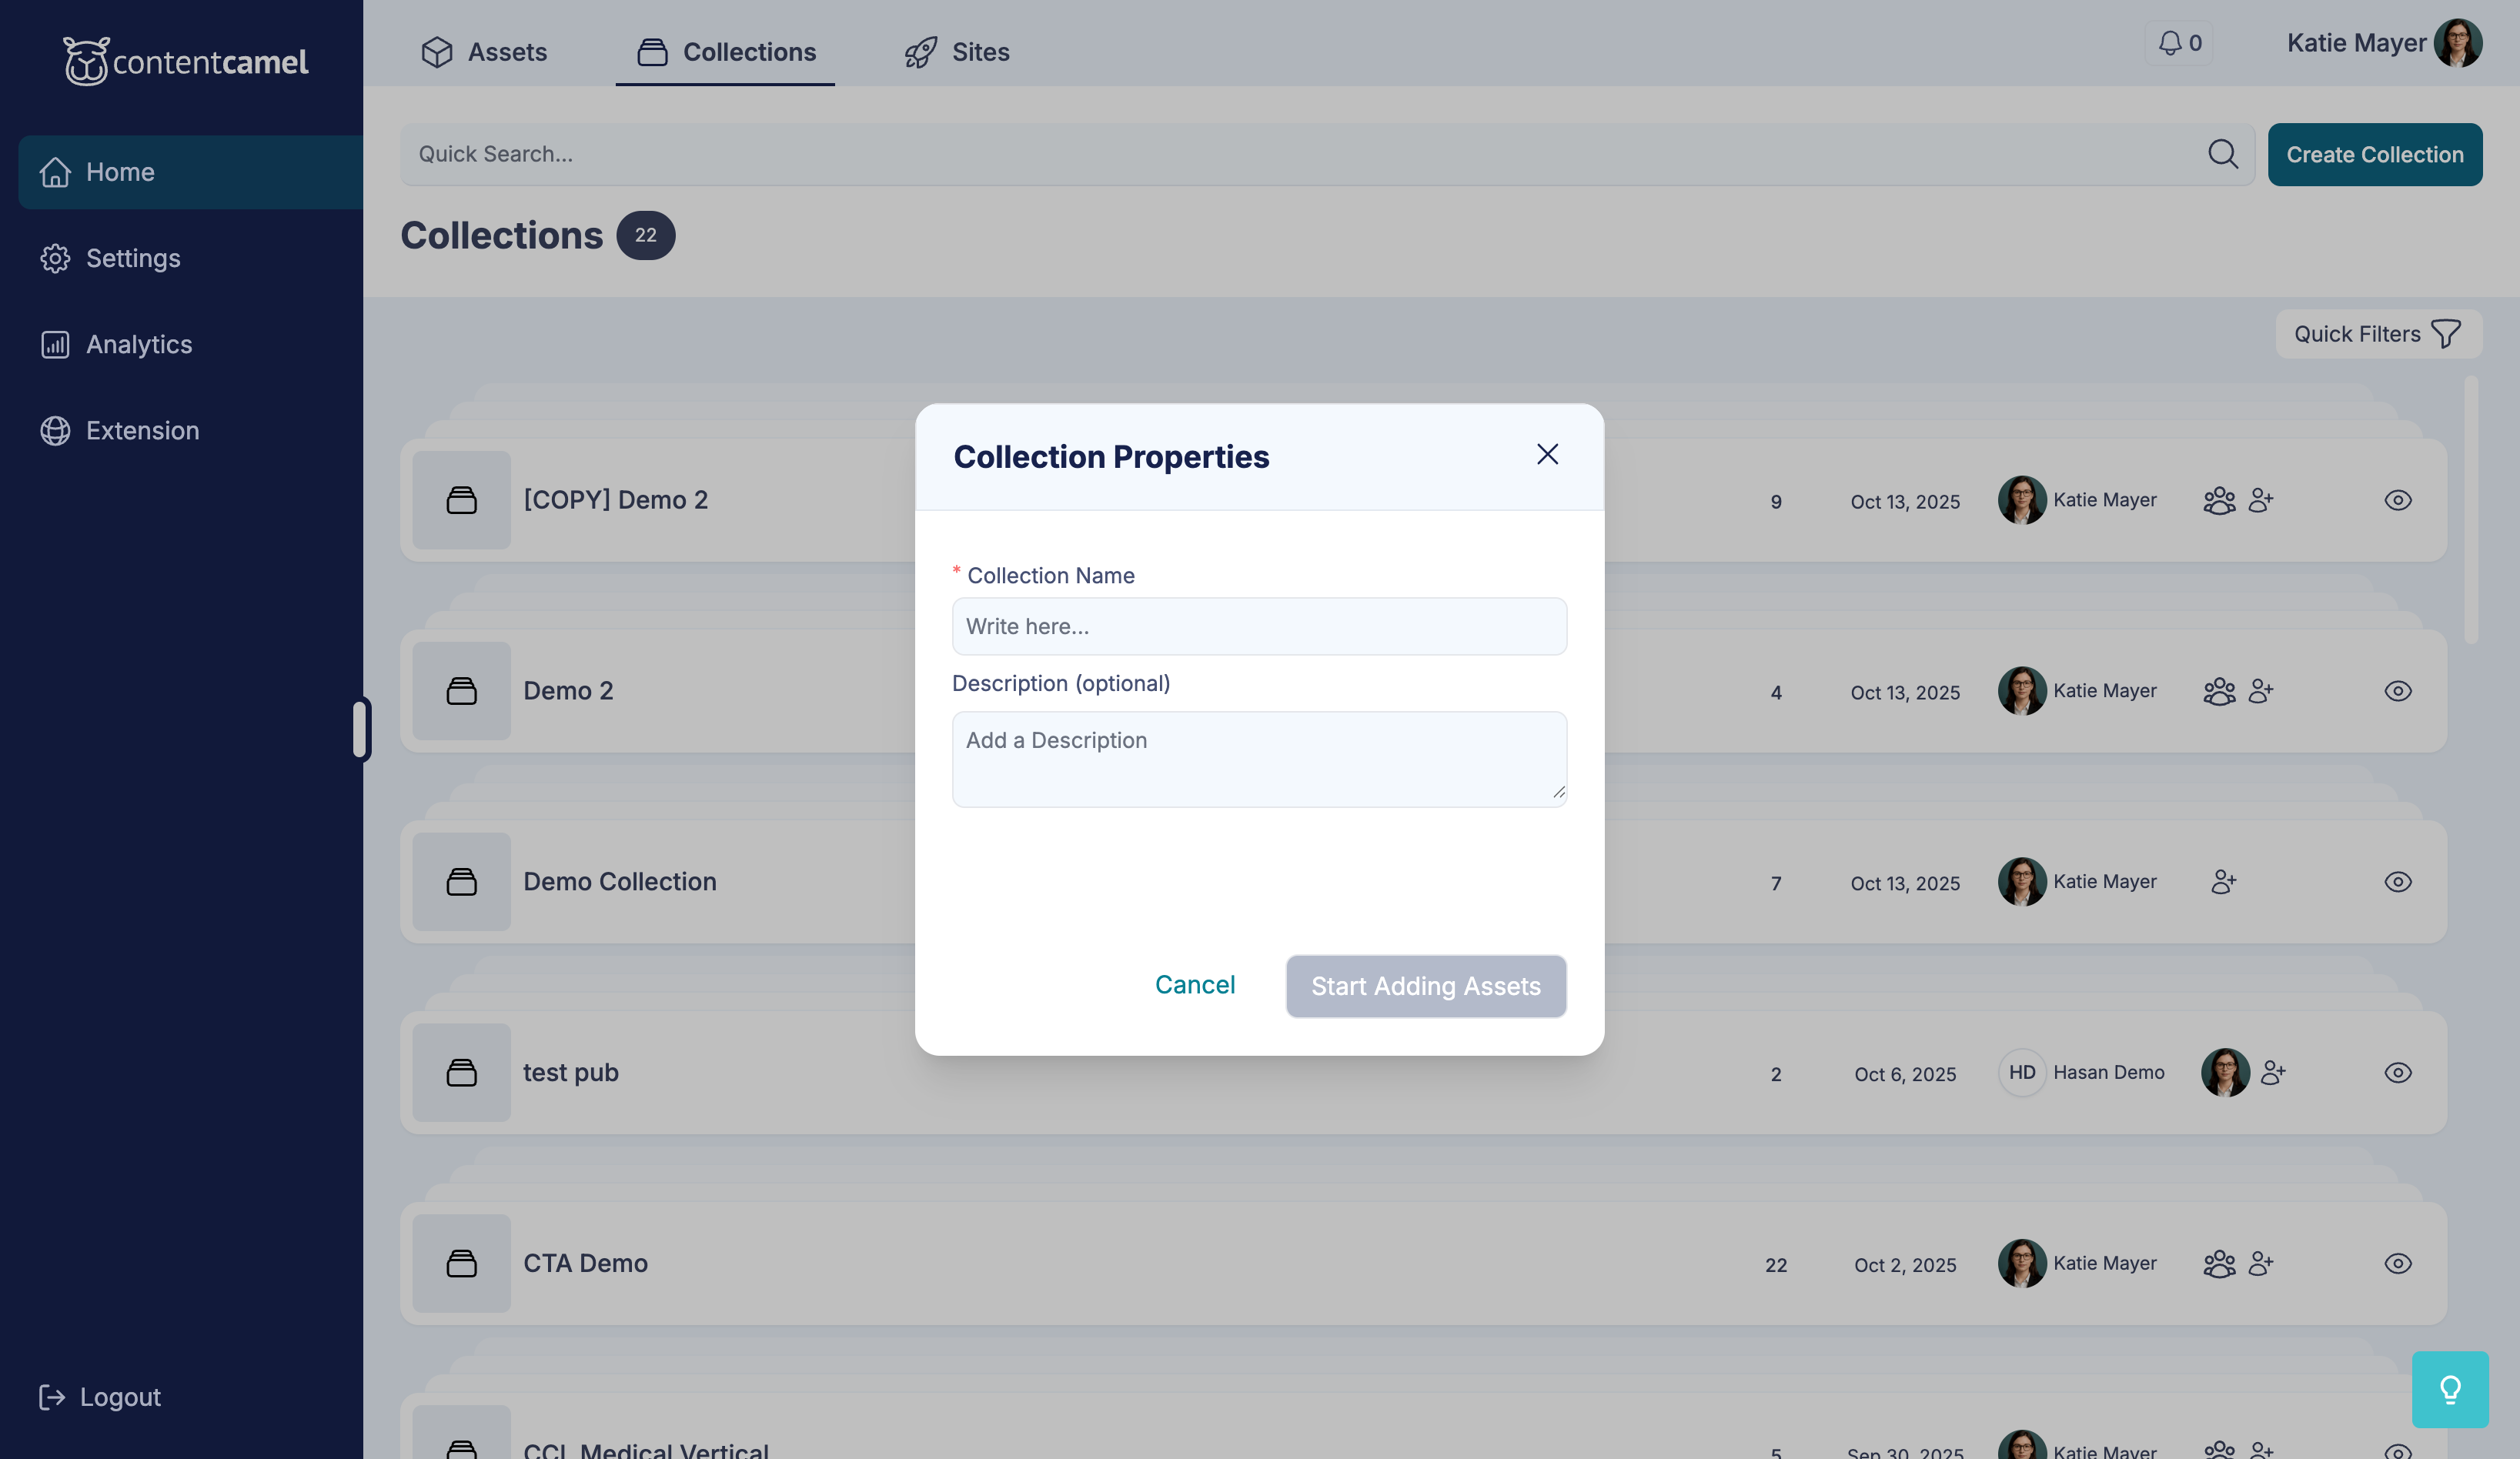
Name your collection
Give your collection a descriptive name at the top. Make it clear what the collection contains or who it's for.
Examples of good collection names:
"Q1 2026 Product Launch Kit"
"Enterprise Sales Enablement"
"Healthcare Industry Resources"
"New Customer Onboarding"
Search and add assets
Use the search bar and filters to find content to include. You can filter by:
Funnel stage
Content type
Tags
And more
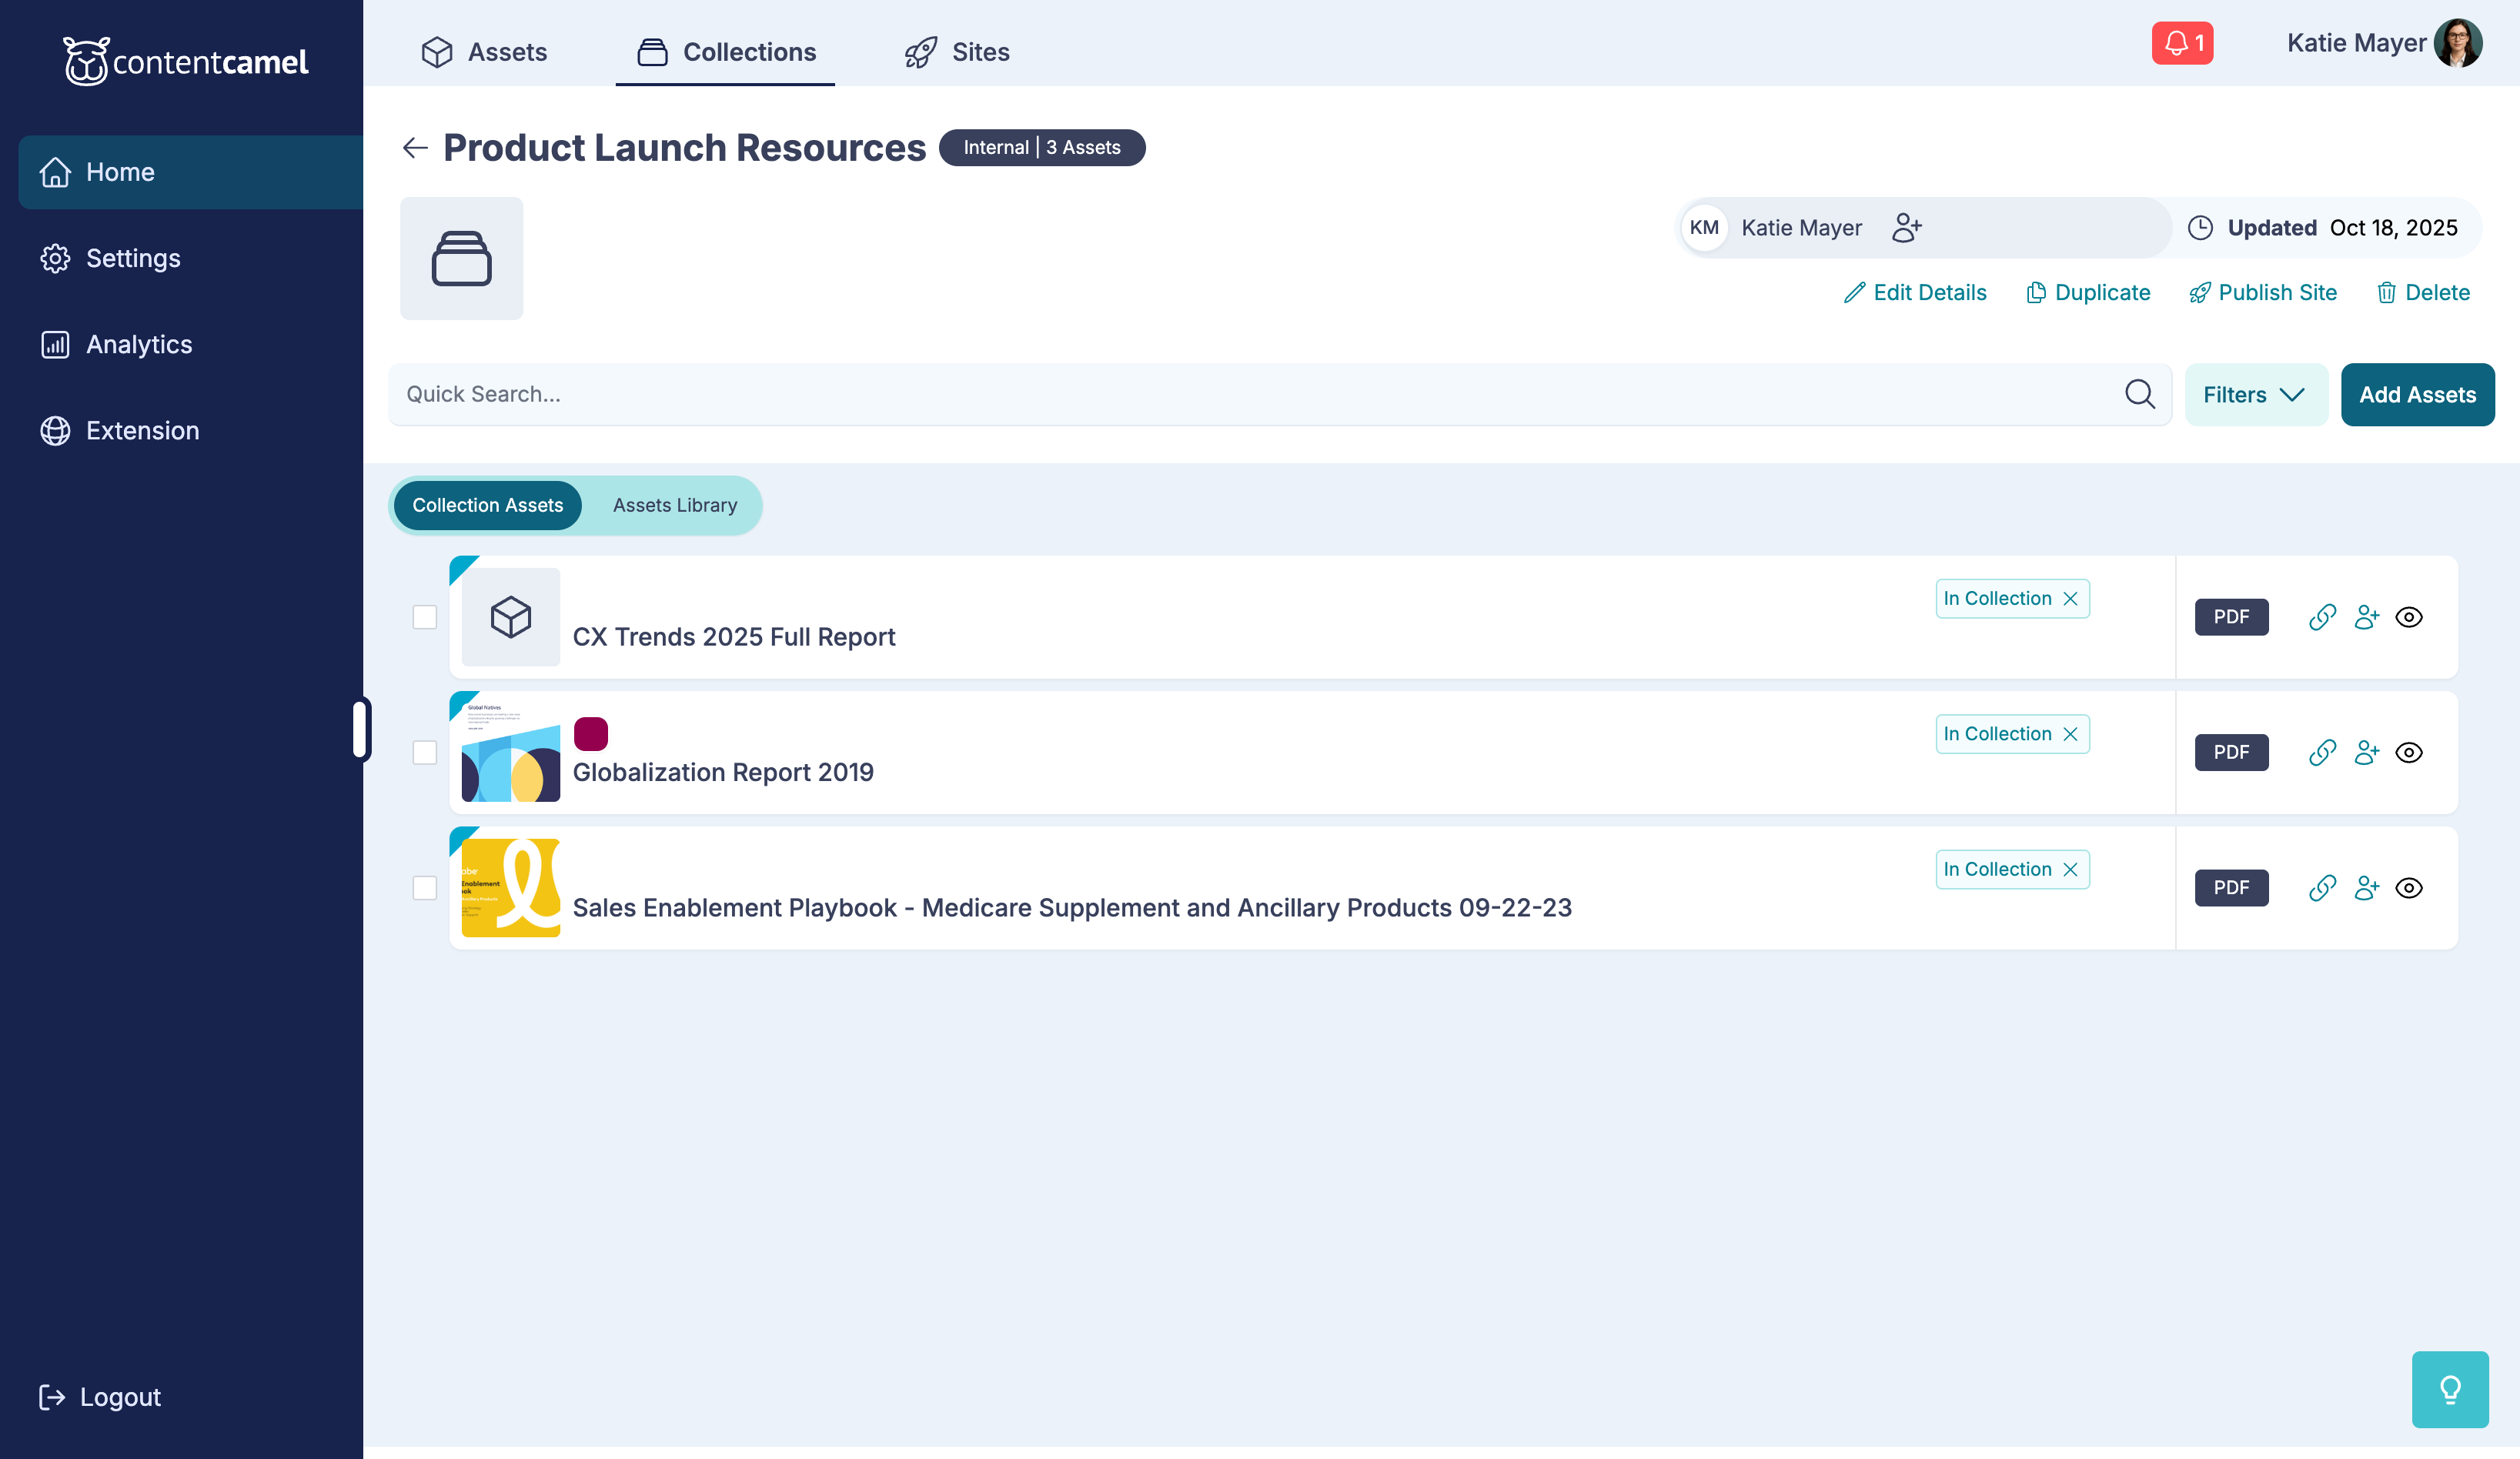
Click the + Add All or Add to Collection button on any asset card to include it in your collection.

Added assets appear in the list with an indicator in the upper left hand corner.
Reorder your assets
The order matters! Arrange assets in the list by dragging them to create a logical flow for your audience.
👉 TIP: Think about the buyer's journey or simply what content reps need logically first. The order in the collection, changed at any time, will be dynamically reflected in any published sites.
Remove unwanted assets
Need to remove an asset? Click the X icon next to 'In Collection'. Or select multiple assets and 'Remove All'
Continue to settings
When your collection is ready, click Next to move to the settings page.
Set sharing options
Step 2: Set access settings
Choose who can access your collection:
Private - Only you can see it
Team - Share with your organization or individual team members
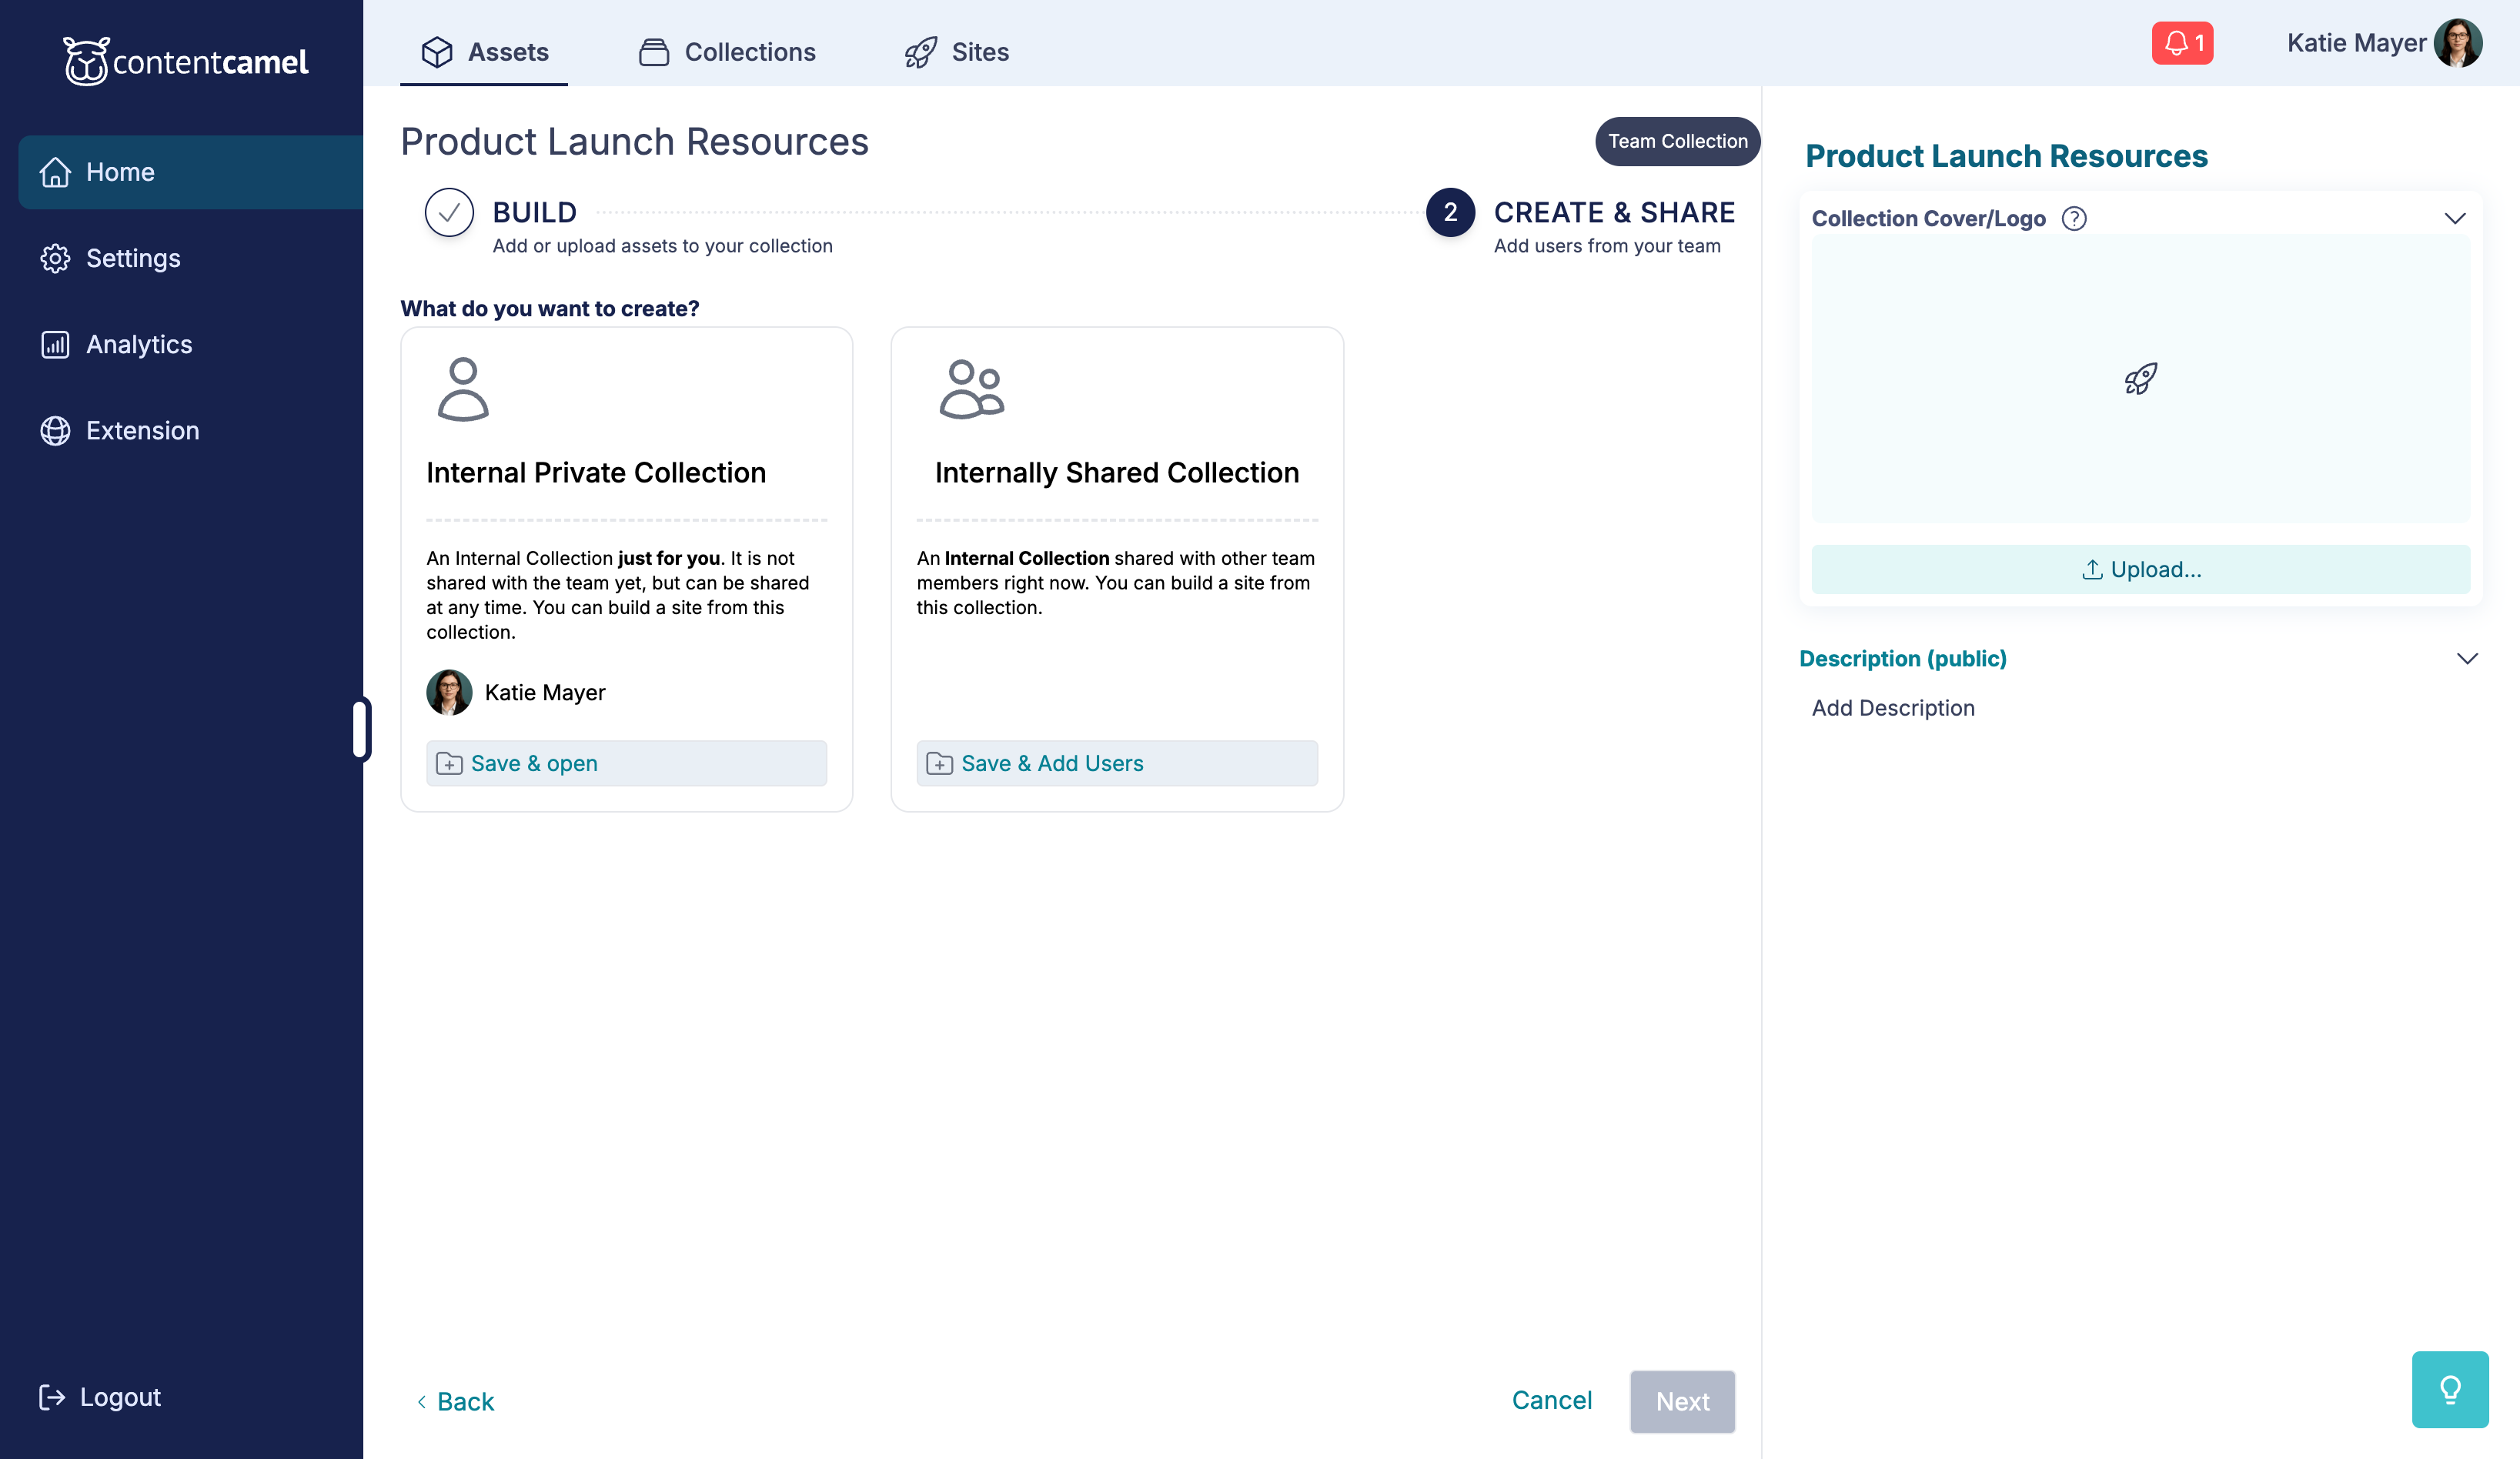
Step 3: Create and share
Click Create Collection to finalize it.
On the collections page, you can refine your collection details and set sharing options.
Configure:
Collection Name - Edit if needed
Description - Brief description of the collection's purpose
Cover Image - Choose a thumbnail for the collection
Your collection will appear in the Collections tab.
Sharing your collection
Click on your collection to view it, then use the Share button to adjust who on the internal team has access to the collection.
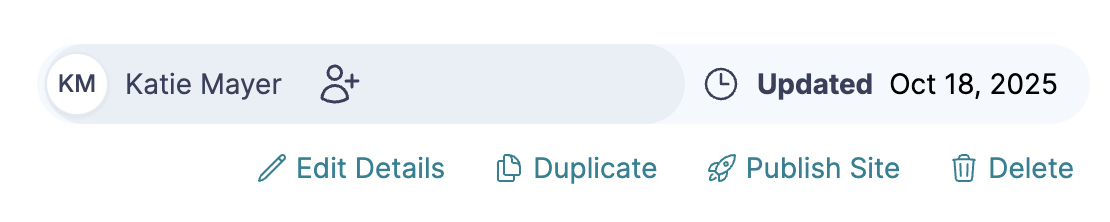
To share a collection more broadly, select Publish Site.
Best practices
Create collections for specific use cases - Don't try to make one collection serve everyone
Keep them focused - 5-15 assets is usually the sweet spot (but could be much more for partner resources, etc)
Order matters - Think through the logical flow of information
Update regularly - Keep collections fresh by removing outdated content and adding new assets
Use descriptive names - Make it clear what the collection contains
Have questions?
If you have any questions about creating or managing collections, reach out to our support team. We're here to help you organize your content for maximum impact.