
🌐 How to build your first site
When a major deal or event requires a polished content experience, sending links to individual files doesn't cut it. You need something that looks professional, feels branded, and gives prospects a real destination to explore. Sites let you build web-based microsites in minutes—perfect for product launches, industry-specific resource hubs, customer onboarding portals, or event-specific content that makes the right impression.
Creating your first site
Step 1: Navigate to Sites
From the home dashboard, click on the Sites tab.

Then click the Create Site button.
Step 2: Choose your starting point
You have two options for creating a site:
From Scratch - Build a new site from the ground up
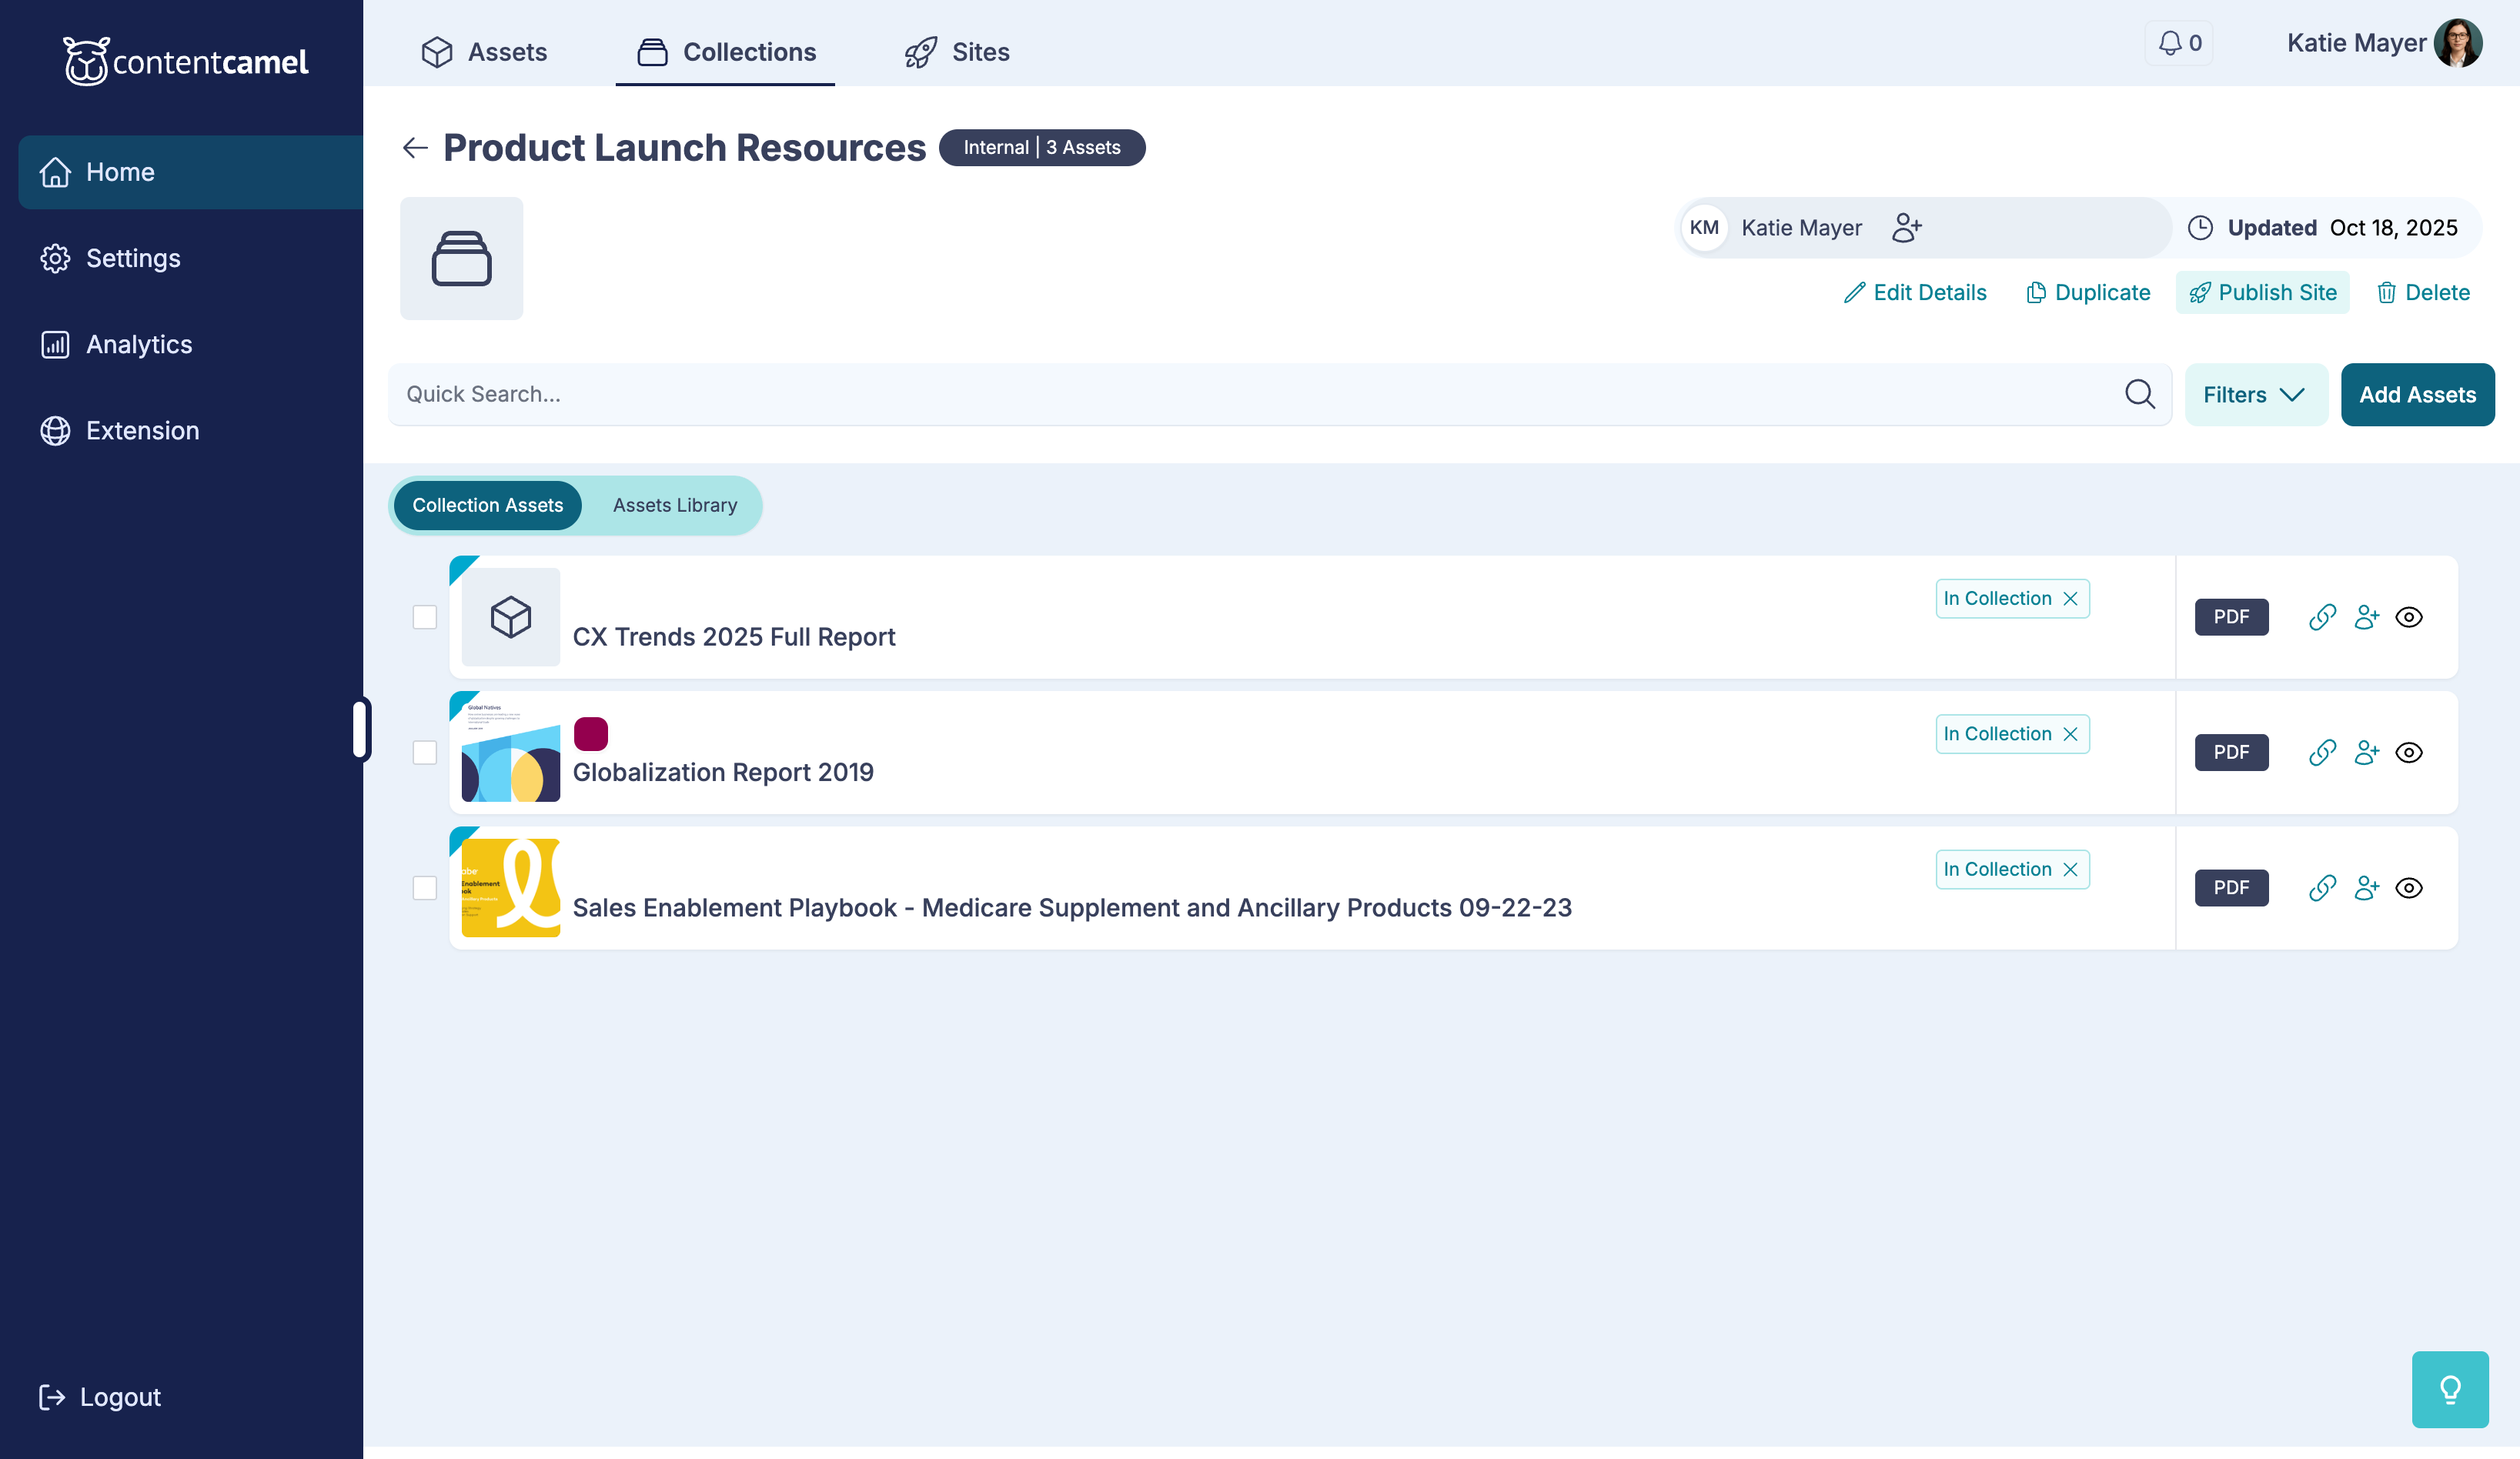
From Collection - Convert an existing collection into a site (faster!)
Starting from a collection
If you choose to start from a collection, select one from your list.
This will pre-populate your site with all the assets from that collection, giving you a head start.
Click Continue when you've made your selection.
Step 3: Configure site basics
Enter the basic information for your site:
Site Name (required) - Internal name for your site (only you see this)
Site Title - Public-facing title visitors will see
Description - Brief description of what the site contains
Choose your URL slug
Select the last part of your site's URL (the "slug"). This makes your site easy to share.
For example, if you choose "product-resources", your site URL will be: engage.contentcamel.io/product-resources
👉 TIP: Keep your URL slug short, memorable, and descriptive. Avoid special characters.
Click Create Site to proceed to the site editor.
Step 4: Design your site
You'll enter the site editor with three main sections:
Left panel - Asset library and site pages
Center canvas - Live preview of your site
Right panel - Settings and customization options
Add content to your site
From the left panel, drag assets onto the canvas to add them to your site.
Click on any asset to edit its settings:
Size and position
Click action (download, open in new tab, external link)
Custom title or description
Organize content into sections
Keep your site organized by adding sections. Click Add Section to create logical groupings of content.
Choose from different layout options:
Grid - Card-based layout
List - Vertical list layout
Featured - Large, prominent display
Customize site appearance
Click on Site Settings in the right panel to customize how your site looks.
You can customize:
Brand Colors - Primary and accent colors
Logo - Upload your company or project logo
Header - Show/hide, customize header text
Footer - Add custom footer content
Choose a layout style
Select a layout that matches your content and purpose:
Standard - Traditional vertical layout, great for reading flow
Grid - Modern card-based grid, perfect for visual content
Showcase - Large hero images, ideal for highlighting key assets
Step 5: Add additional pages (optional)
For more complex sites, you can add multiple pages.
Click Add Page in the left panel.
Give your page a name.
Common page examples:
Products
Resources
About
Contact
Pages automatically appear in your site's navigation.
Step 6: Preview your site
Before publishing, preview your site to see how it will look to visitors.
Click Preview to open your site in a new tab.
Check:
All content displays correctly
Navigation works properly
Branding looks good
Links function as expected
Mobile responsiveness
Step 7: Publish your site
Once you're happy with how everything looks, it's time to go live!
Click Publish to make your site accessible.
Your site is now live and ready to share!
Sharing your site
Get your site URL
From the site editor or Sites list, click Share to get your public URL.
Copy the URL to share it anywhere.
You can share your site via:
Email
Social media
Messaging apps
Embedded in other websites
QR codes for events
Updating your site
Sites are living resources that you can update anytime.
To make changes:
Navigate to the Sites tab
Click on your site
Click Edit Site
Make your changes
Click Save
Click Publish to update the live site
All changes are reflected immediately to anyone with the link.
Best practices
Design
Keep it focused - Don't try to include everything. Build multiple sites for different purposes
Use high-quality images - Visual appeal matters for microsites
Test on mobile - Many visitors will view on phones or tablets
Maintain brand consistency - Use your company's colors and style
Content
Organize logically - Group related content together
Use clear headings - Help visitors navigate your site
Add descriptions - Don't assume visitors know what everything is
Update regularly - Keep content fresh and relevant
URLs
Choose descriptive slugs - Make URLs meaningful and memorable
Keep them short - Easier to share and remember
Use hyphens - For multi-word slugs, use hyphens (e.g., "product-launch")
Sharing
Track engagement - Monitor who's visiting your site
Share the right context - Explain what the site is when you share it
Update your team - Let colleagues know when you publish relevant sites
Have questions?
If you have any questions about creating or managing sites, reach out to our support team. We're here to help you build beautiful, effective microsites that drive engagement.